Hand Photography Overview: 8 Hand Photography Tips
Written by MasterClass
Last updated: Jan 25, 2022 • 3 min read
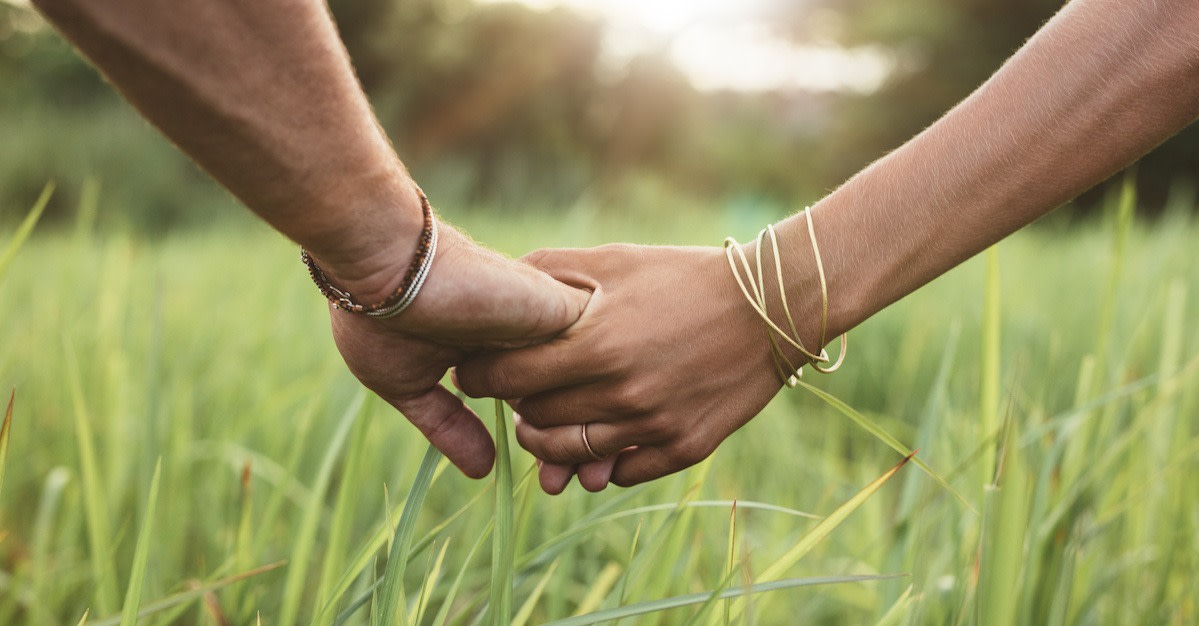
Knowing how to photograph hands properly can add a human, relatable element to your photos. Hand photography takes skill—because these are some of the most difficult body parts to capture elegantly—but the right techniques can yield a remarkable portrait of a person without even showing their face. Follow this DIY beginner’s guide to learn how to photograph hands.

Learn From the Best
What Is Hand Photography?
Hand photography is the practice of photographing hands, either independently or as part of a larger image (or series of images). The best hand photography can lend point-of-view (POV) relatability to an image, reveal personality, or tell a story. Hand photography is popular in commercial advertising images and photoshoots for professional engagement photos (typically highlighting a person’s engagement ring).
Images in this photography mode typically don’t incorporate faces, unlike portrait photography. Nevertheless, hand photographers must know how to compose and light a shot to produce the desired result.
How to Photograph Hands
Whether you aim to become a professional photographer or simply develop a new creative skill, follow these shooting and posing tips for capturing organic images of hands.
- 1. Consider the lighting. Always light your hand photography properly, as you would any other type of photo. Be aware of the direction from which the natural light is coming, and note that fingers cast lots of shadows, making for potentially distracting background shapes. Use studio lighting to avoid distracting shadows that can change the composition of your frame.
- 2. Try different lenses. Different lenses will have varying effects on your hand portraiture. Try different zoom lenses to pick up details, or use a wide-angle lens to play with perspective. Change your shutter speed to capture motion. Experiment with depth of field and lighting to change the focus and silhouette of the hands in the frame.
- 3. Switch up the angles. Photographing the back or front of a hand straight-on can make it look either wider or more wrinkly than it is. Use angles to help keep the size of the subject’s hands in perspective. Take the shot from a few different angles and switch up the hand placement every few frames so that you have options. Avoid cropping the hands at the joints during post-processing, which can result in an unnatural-looking photo.
- 4. Capture a natural position. Position your model’s hands in the most naturalistic way possible to add authenticity to the image. Capture your subject’s hands as they perform natural activities. For example, take closeups of a tailor’s pin-pricked hands as they sew or snap photos of a mechanic’s oil-soaked fingers as they work. Try to capture organic hand placements first before posing your subject’s hands.
- 5. Relax the hands. Relaxed hands are optimal for hand photography. As you direct your subject’s hand pose, ask them to bend their knuckles and fingers slightly, indicating relaxed body language. If you’re taking a photo of two people holding hands (or a hand holding an object), make sure they have a loose grip. Squeezing can distort the shape and appearance of a hand in an image, resulting in an unflattering photo.
- 6. Experiment with different poses. The hands in your image should always have something to do. Use a subject’s hand pose to draw attention to an object, convey motion, or tell a story. Experiment with different hand-posing setups (especially after trying the same one repeatedly) to capture a range of images and moods.
- 7. Incorporate color. Make the hands (or the part of the hand you’re focusing on) pop by using colors that offer a contrast between the model’s skin tone and attire. Dress your hand model in solid, unbranded clothing to avoid distracting background elements if their body appears in the shot. Use a subject’s bold-colored nail polish as a focal point for your photo if it serves the image.
- 8. Mind the details. Pay attention to the small details in your image (such as tattoos, ring tan lines, or “missing finger” illusions—when one finger eclipses another) to ensure that they do not affect the composition or cohesiveness of your photo. If you’re shooting hands for a commercial or brand, make sure the subject’s nails are cleaned and manicured. Ask your hand model to moisturize their hands before the shoot, which will make their hands look neat and healthy.
Want to Learn More About Photography?
Become a better photographer with the MasterClass Annual Membership. Gain access to exclusive video lessons taught by the world’s best, including Tyler Mitchell, Jimmy Chin, Annie Leibovitz, and more.


Design & Style
Hygge Decor Guide: How to Add Hygge Style to Your Home
Jul 15, 2021

Design & Style
Neoclassical Architecture Guide: Examples of Neoclassicism
Jul 15, 2021

Design & Style
Types of Shoes: 19 Different Types of Footwear
Sep 21, 2021

Design & Style
How to Become an Art Director at a Magazine
Jun 7, 2021

Design & Style
Press Handstand Guide: How to Master Press Handstands
Aug 10, 2021

Design & Style
Tips to Advance Your Travel Photography
Aug 2, 2021
Other articles
New England Clam Chowder: 4 Tips for Making Chowder
Oct 23, 2026
Claude Debussy: A Guide to Claude Debussy’s Life and Music
Jun 25, 2021
How to Play Basketball: Explore the Basics of Basketball
Jun 7, 2021
How to Write a Horror Story in 7 Steps
Dec 8, 2021
Daniel Pink’s ABC’s of Selling: Inside the 3 Key Sales Qualities
Dec 10, 2021
Wine 101: What Is Barrel Aging? Understanding the Barrel Aging Process in Winemaking and the Difference Between Steel and Oak Barrels
Sep 2, 2022